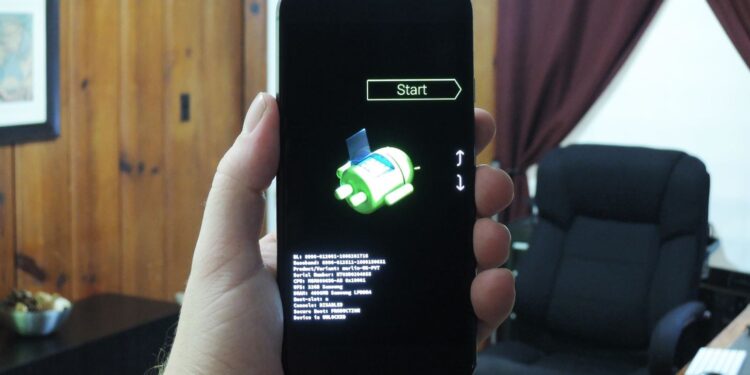
Introduction
Flashing your Android device might sound like a complex task, but it’s a powerful technique that allows you to customize, optimize, and troubleshoot your device to enhance its performance and user experience. In this article, we’ll delve into the world of Android flashing, breaking down the process, its benefits, and the precautions you need to take.
Understanding Android Flashing
Android flashing refers to the process of installing a new or modified firmware onto your Android device’s internal memory. It’s essentially replacing the existing operating system with a new version, often provided by the device manufacturer or third-party developers. This process can unlock numerous possibilities, including:
1. Customization: Flashing allows you to install custom ROMs (Read-Only Memory) that offer unique features, visual styles, and enhanced functionalities not found in stock Android.
2. Performance Enhancement: Custom ROMs often come with optimizations that can speed up your device, reduce battery consumption, and streamline resource usage.
3. Troubleshooting: If your device is facing persistent issues like crashes or slowdowns, flashing a fresh firmware can sometimes resolve these problems.
4. Latest Android Versions: Manufacturers may delay Android updates, but flashing custom ROMs can help you get the latest version of Android sooner.
The Process of Flashing
Flashing an Android device involves several steps. Keep in mind that the exact process can vary based on your device model and the custom ROM you choose. Here’s a general outline:
1. Unlocking Bootloader: Before you can flash a custom ROM, you often need to unlock your device’s bootloader. This step involves enabling the device to load custom firmware.
2. Installing Custom Recovery: A custom recovery like TWRP (Team Win Recovery Project) is crucial for flashing. It allows you to create backups, wipe data, and install custom ROMs.
3. Backing Up Data: Flashing wipes your device’s memory, so it’s essential to back up your data, including apps, contacts, photos, and documents.
4. Downloading Custom ROM: Choose a reputable custom ROM that suits your preferences and device model. Popular options include LineageOS, Paranoid Android, and Resurrection Remix.
5. Flashing the ROM: Transfer the custom ROM file to your device, boot into recovery mode, and use the recovery interface to flash the ROM from the file you’ve downloaded.
6. Clearing Cache: After flashing, it’s recommended to wipe the cache partition to ensure a clean installation.
7. Rebooting: Once the ROM is successfully flashed, reboot your device. The first boot might take longer than usual, so be patient.
Precautions and Risks
While flashing can be rewarding, it’s not without risks. Mishandling the process can lead to several issues, including:
1. Bricking: Incorrect flashing can result in a bricked device – one that’s unusable. Always follow instructions carefully and double-check compatibility.
2. Warranty Void: Flashing custom firmware usually voids your device’s warranty. Consider this before proceeding.
3. Data Loss: Flashing wipes your device, so back up all essential data before starting.
4. Security Concerns: Custom ROMs may not have the same security updates as official ones, potentially exposing your device to vulnerabilities.
Conclusion
Flashing your Android device can unlock a world of customization and optimization, allowing you to tailor your device to your preferences. However, it’s essential to approach the process with caution, following instructions carefully and choosing reputable sources for custom ROMs. By understanding the benefits and risks associated with flashing, you can make an informed decision about whether it’s the right step for you. If done correctly, flashing can breathe new life into your Android device, providing you with enhanced performance and features that go beyond the limitations of stock Android.


