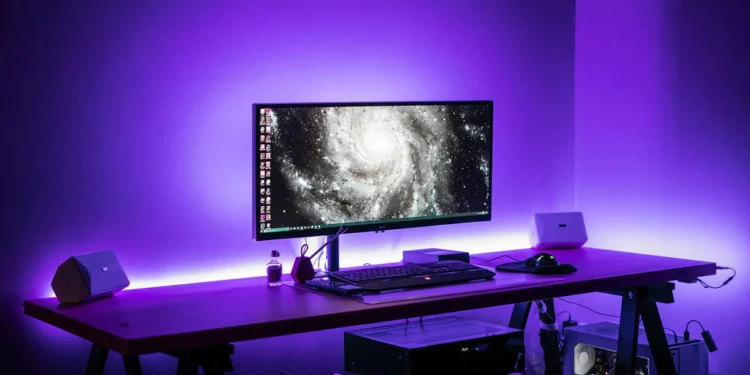
Video editing has become an integral part of various industries, from content creators on YouTube to professional filmmakers. To harness the full potential of video editing software and produce stunning videos, you need a powerful and well-configured PC. In this comprehensive guide, we’ll walk you through the process of building the ultimate video editing PC, step by step.
Step 1: Define Your Budget
Before embarking on your journey to build the ultimate video editing PC, it’s essential to determine your budget. Building a PC can range from budget-friendly to high-end, so knowing how much you’re willing to invest will help you make informed decisions when selecting components.
Step 2: Select the Right CPU
The central processing unit (CPU) is the brain of your computer. For video editing, you’ll want a multicore processor from trusted brands like Intel or AMD. Look for CPUs with a high number of cores and threads, as video editing software benefits greatly from multithreading.
Step 3: Choose a High-Performance GPU
A robust graphics processing unit (GPU) is crucial for video editing. GPUs from NVIDIA or AMD are popular choices. They accelerate tasks like rendering and playback, making your editing process smoother and more efficient. Select a GPU with ample VRAM for handling high-resolution video files.
Step 4: Decide on RAM Capacity
Video editing can be memory-intensive. Start with a minimum of 16GB of RAM, but consider 32GB or more if you plan to work with 4K or higher-resolution footage. Fast RAM with a high clock speed can further boost your PC’s performance.
Step 5: Pick Fast Storage
For storage, it’s recommended to use a solid-state drive (SSD) for your operating system, software, and project files. SSDs offer rapid data access speeds, reducing load times and enhancing overall system responsiveness. Consider additional SSDs or traditional hard disk drives (HDDs) for storing large video files.
Step 6: Select a Compatible Motherboard
Your motherboard choice should be compatible with your CPU and GPU. Ensure it has enough slots for RAM and storage devices. Look for motherboards with ample USB and PCIe connectivity, as these can be valuable for expanding your system.
Step 7: Choose a Suitable Power Supply Unit (PSU)
The power supply unit (PSU) provides electricity to your PC’s components. Choose a PSU with enough wattage to support your CPU, GPU, and other components, with some headroom for potential upgrades. Investing in an efficient and reliable PSU is essential to protect your investment.
Step 8: Consider Cooling Solutions
Video editing can push your PC’s components to their limits, generating heat. Invest in effective cooling solutions to maintain optimal temperatures. Aftermarket CPU and GPU coolers, along with well-ventilated PC cases, can help dissipate heat efficiently.
Step 9: Select a Well-Ventilated Case
Speaking of cases, choose one that accommodates your components comfortably and offers good airflow for cooling. Proper ventilation prevents overheating and ensures consistent performance during long editing sessions.
Step 10: Install the Operating System and Software
Once you’ve assembled your video editing PC, it’s time to install the operating system (e.g., Windows, macOS, or Linux) and your preferred video editing software. Popular options include Adobe Premiere Pro, Final Cut Pro, and DaVinci Resolve. Ensure you have the latest drivers for your hardware components to maximize compatibility and performance.
Additional Tips for Optimal Performance
- Backup solutions – Invest in a robust backup system to protect your precious video files. Consider external hard drives, cloud storage, or network-attached storage (NAS) for redundancy.
- Monitor calibration – A high-quality, color-calibrated monitor is essential for accurate video editing. Calibrate your monitor regularly to ensure color accuracy in your projects.
- Keyboard and mouse – Invest in a comfortable keyboard and mouse, as you’ll be spending a lot of time using them during the editing process. Some editors prefer specialized video editing keyboards with customizable shortcut keys.
- Audio setup – Don’t overlook audio quality. A good pair of headphones or studio monitors and a quality microphone can significantly enhance your editing experience.
- Regular maintenance – Keep your PC clean and dust-free to prevent overheating and ensure optimal performance. Regularly update your software and drivers for the latest features and security patches.
Conclusion
Building the ultimate video editing PC is a project that requires careful planning and investment. However, the rewards are certainly worth it. Not only can you significantly enhance your video editing workflow, but you can also reduce rendering times and produce professional-quality videos.
So, where can you get started on this journey? Head to your nearest computer store in Layton to get your hands on the right components and start building your dream machine today. Regardless of your level of expertise, following these steps will set you on the path towards creating a video editing powerhouse that will take your content creation to new heights.


